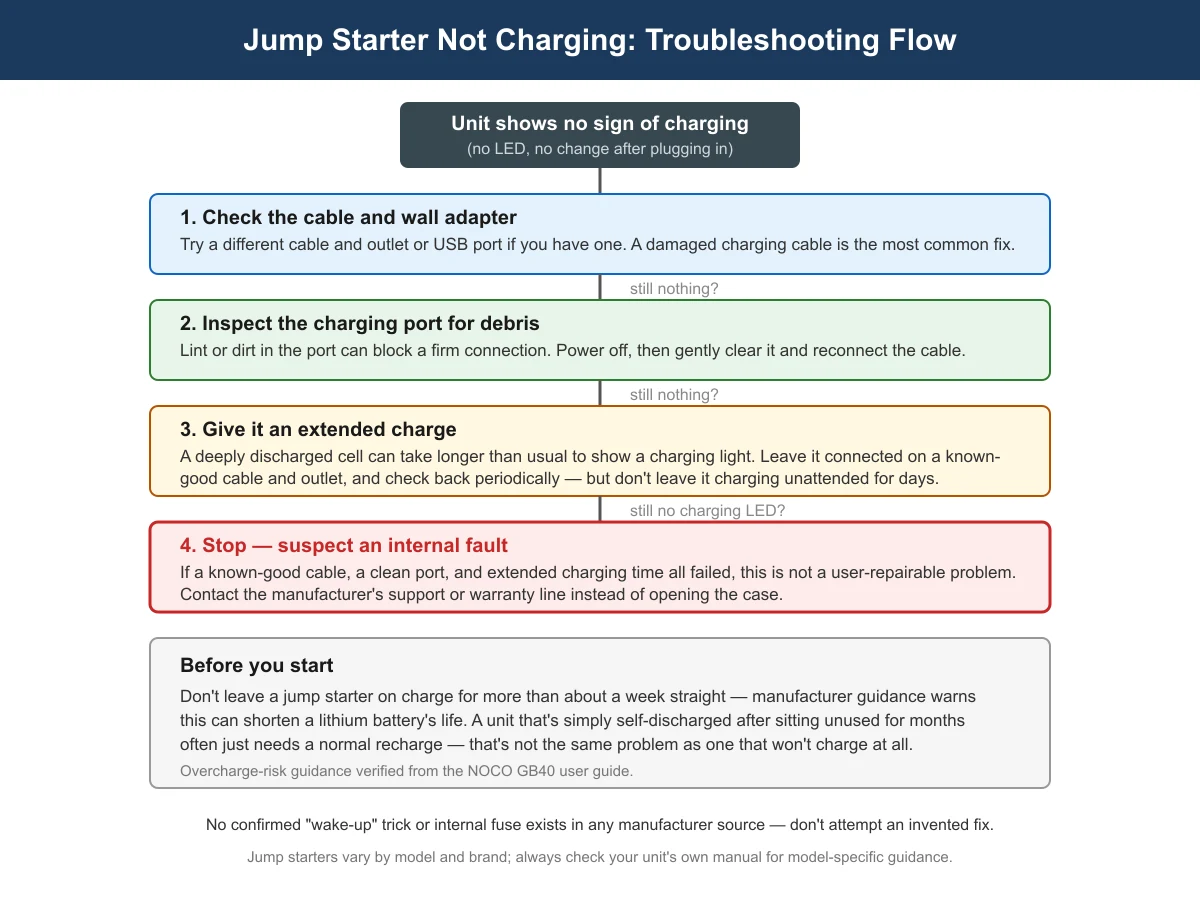
If a jump starter won’t charge, work through these in order: try a different cable and outlet, check the charging port for dirt or lint, then give it an extended charge in case the cell is just deeply discharged. If none of that produces a charging light, the unit likely has an internal fault that isn’t something you can fix yourself.
- A damaged or low-quality charging cable is the single most common reason a jump starter appears “dead” when it’s plugged in.
- Debris in the charging port can block a firm connection even when the cable itself is fine.
- A unit that’s been sitting unused for months may just be deeply discharged, not broken — give it longer than you’d expect before assuming the worst.
- Avoid leaving any jump starter on charge for more than about a week straight; manufacturer guidance warns this can shorten a lithium battery’s life.
- Skip “wake-up trick” advice you may see elsewhere — no manufacturer confirms it, and this guide explains why.
Step 1: Check the Cable and Power Source
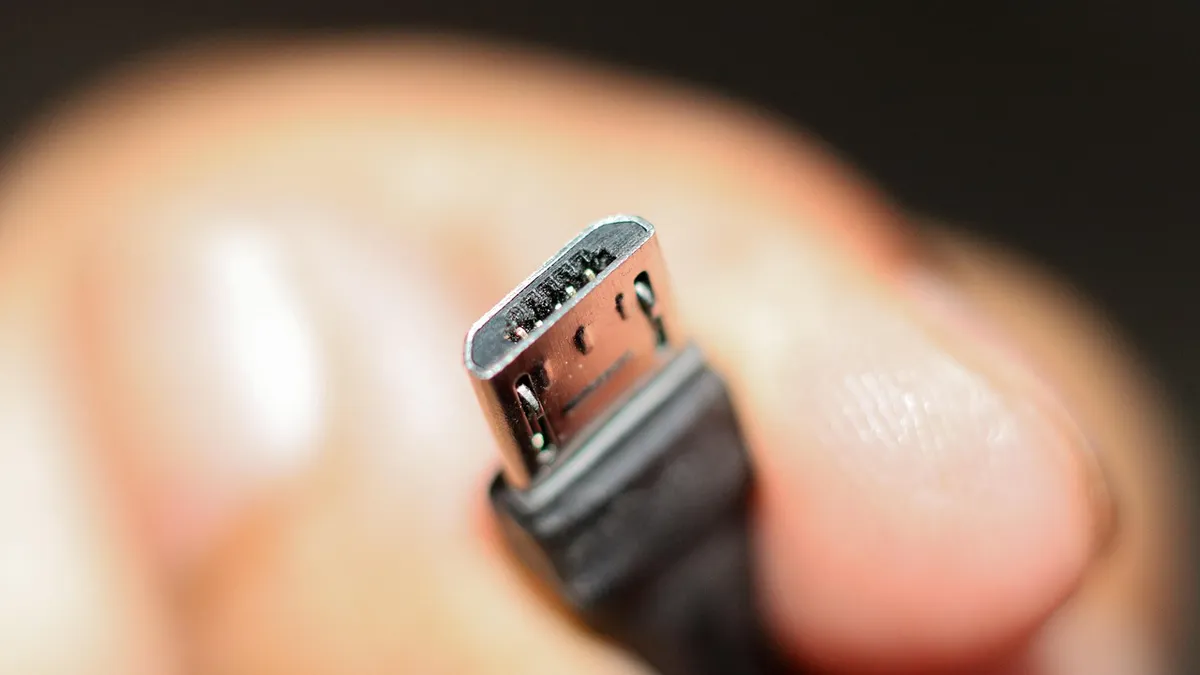
Before assuming the jump starter itself has failed, rule out the simplest explanation: the cable, the wall adapter, or the outlet. Try a different charging cable if you have access to one, and try a different wall outlet or USB port. Charging cables are a common point of failure because they get coiled, stepped on, and stuffed into glove boxes — a cable that charges a phone fine can still have failed in a way that doesn’t deliver enough current for a larger device.
Step 2: Inspect the Charging Port
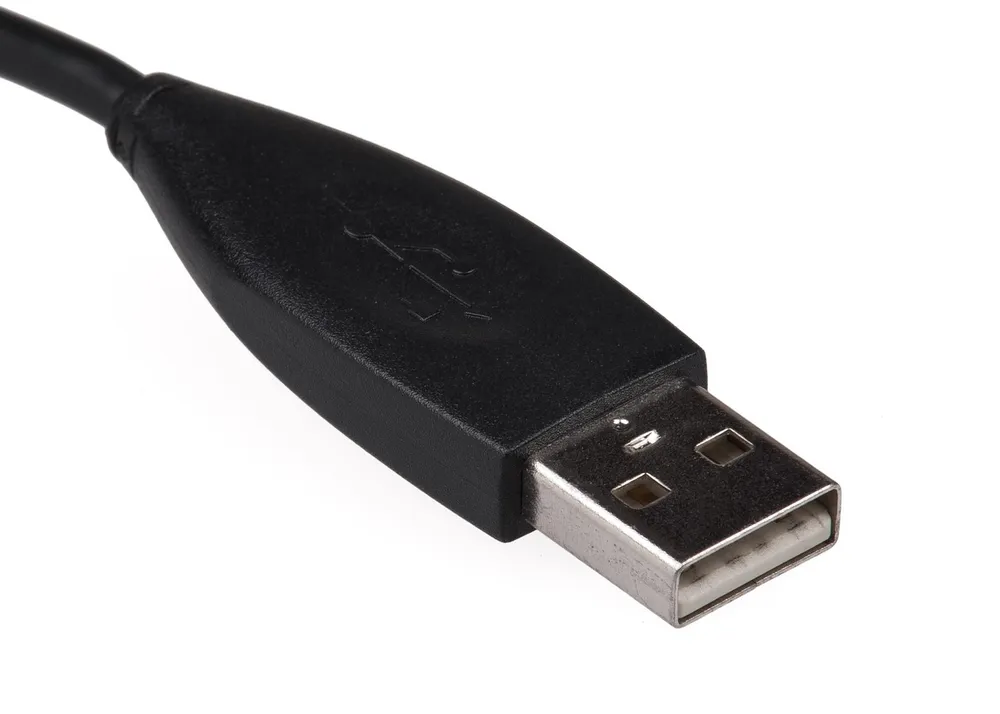
Lint, dirt, or sand in the charging port can prevent the cable from seating firmly enough to make a reliable connection, especially on units that have lived in a glove box, trunk, or tool bag. With the unit powered off, look into the port with a flashlight and gently clear any visible debris — a dry, soft brush works better than anything metal, which risks damaging the port’s contacts. Reconnect the cable firmly afterward and check for a charging indicator.
Step 3: Give It an Extended Charge
A jump starter that’s been left unused for several months can self-discharge low enough that it takes noticeably longer than usual to show a charging light. If the cable and port both check out, connect the unit to a cable and outlet you’ve confirmed work, and leave it charging for an extended period rather than giving up after a few minutes. Check back periodically rather than leaving it completely unattended for days at a time.
How Long Is Too Long?
There isn’t a single confirmed number for exactly how long a deeply discharged cell should take to show signs of life, and it varies by model and how discharged the cell actually is. What is confirmed: don’t leave any lithium jump starter on continuous charge for more than about a week. NOCO’s own GB40 user guide specifically warns against extended continuous charging, noting it can shorten the battery’s lifespan. The U.S. Consumer Product Safety Commission gives the same underlying caution for other lithium-ion devices like e-bikes and scooters, telling consumers to “always be present when charging” and never to charge unattended or overnight — guidance aimed at that product category rather than jump starters specifically, but it reflects the same lithium-ion chemistry. If you’ve given it a genuinely extended charge — hours, not minutes — on a cable and outlet you know work, and there’s still no charging indicator at all, move to the next step rather than continuing indefinitely.
Step 4: When to Stop and Contact Support
If a cable and outlet you’ve confirmed work, a clean port, and a genuinely extended charging attempt all fail to produce any charging indicator, this points to an internal fault — a failed cell or internal circuit — that isn’t something to open the case and fix yourself. At this point, contact the manufacturer’s customer support or warranty line. Many jump starters carry a multi-year warranty, and a unit that won’t charge at all despite correct cable, port, and charging-time troubleshooting is a reasonable warranty claim rather than something to keep experimenting with.
A Note on “Wake-Up Trick” Advice
You may see advice elsewhere describing a specific procedure to “wake up” a jump starter that won’t charge, sometimes framed around an internal fuse resetting itself. We could not confirm this mechanism, or any specific procedure for it, from a jump starter manufacturer’s own documentation — it appears only on lower-authority blogs repeating each other. Rather than pass along an unverified procedure, this guide sticks to the confirmed steps above: check the cable, check the port, give it a genuinely extended charge, and treat a unit that still won’t charge after all three as a legitimate case for manufacturer support.
Related Problems Worth Ruling Out
Not charging at all is a different problem from charging normally but draining fast — if your unit does charge but seems to lose its charge quickly in storage, see why a jump starter won’t hold a charge. If you’re not sure how long a brand-new unit needs on its first charge before you can trust it, see how long to charge a new jump starter before first use. And if you’re trying to figure out how many jumps you should expect from a full charge once it is charging normally, see how many jump starts you can get on one charge. For the full step-by-step on using the unit correctly once it’s charged, start with our pillar guide to using a jump starter correctly.
Frequently Asked Questions
My jump starter’s light flickers when I plug it in but doesn’t stay on. What does that mean?
A flickering light often points to an intermittent connection rather than a fully failed unit — check that the cable is seated firmly in both the wall adapter and the unit’s port, and try a different cable if one is available before assuming the device itself has failed.
Is it normal for a new jump starter to arrive partially charged?
Yes. Manufacturer guidance for at least one major brand (NOCO) confirms units ship partially charged and should be fully charged before first use, so don’t assume a low initial charge level means the unit is defective. A second brand, Schumacher Electric, gives the same kind of guidance in its own FAQ, telling owners to charge a portable jump starter immediately after purchase, every 30 days, and after every use — so a low or depleted reading from sitting unused is expected, not a sign of a defect.
Can I use a phone charger cable to charge my jump starter?
Only if the connector type matches and the cable can carry the current the jump starter needs — a cable that charges a phone fine may still underperform on a larger device. If you’re troubleshooting a charging problem, a cable you know works with that specific jump starter is a better test than an unrelated phone cable.
How do I know if the problem is the cell inside, not the cable or port?
If you’ve already ruled out the cable and the port, and an extended charge on a confirmed-working cable and outlet still shows no charging indicator at all, that points to the cell or internal circuit rather than an external cause — contact manufacturer support at that point.
Sources
- NOCO, GB40 Boost Plus User Guide and Warranty (manufacturer manual) — guidance against extended continuous charging and the unit shipping partially charged.
- U.S. Consumer Product Safety Commission – Micromobility Information Center (lithium-ion charging safety guidance for devices like e-bikes and scooters: always be present when charging, never charge unattended or overnight)
- Schumacher Electric – FAQs (manufacturer guidance to charge a portable jump starter after purchase, every 30 days, and after every use)
By jumpstarterguides.com Editorial Team. Last updated: November 13, 2026.
One thought on “Jump Starter Not Charging? Step-by-Step Fixes”