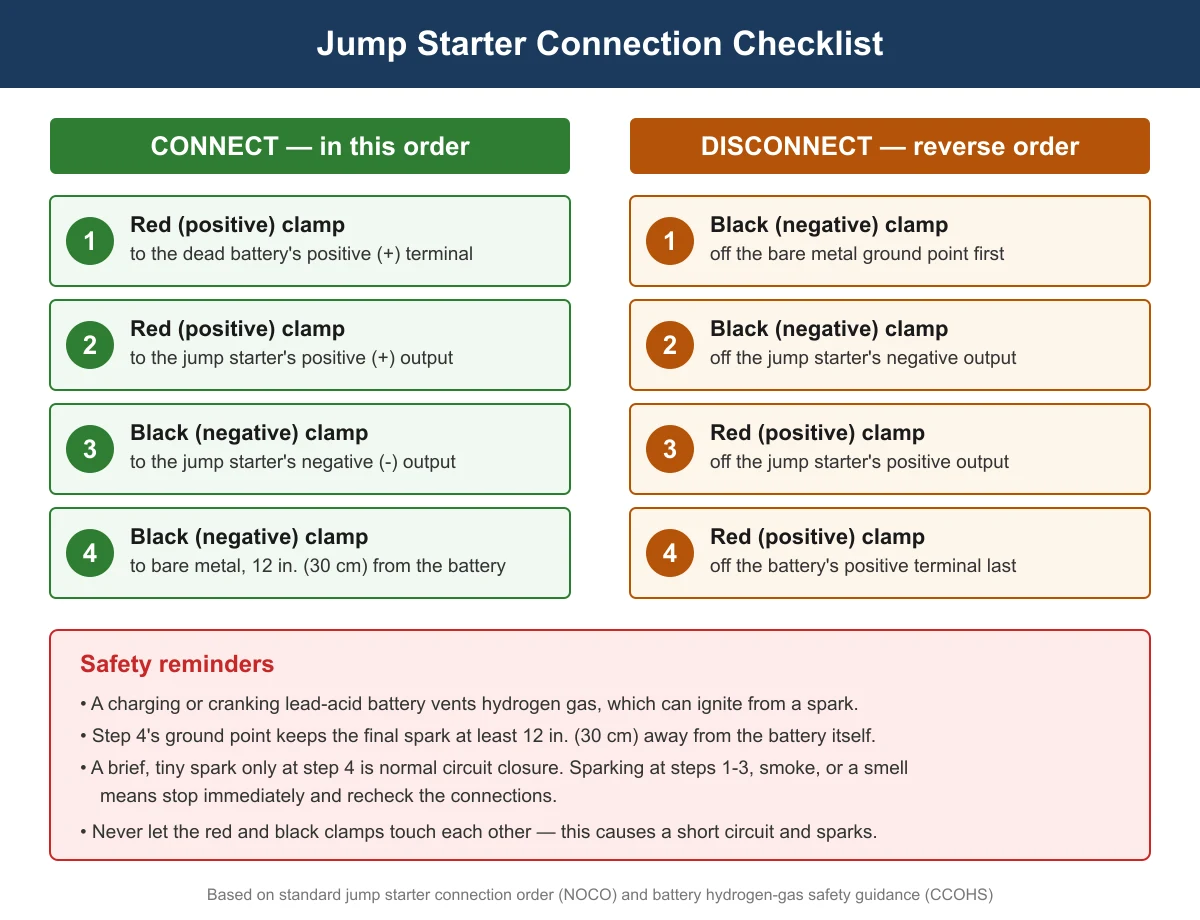
Connect the red (positive) clamp to the dead battery first, then to the jump starter’s positive output. Connect the black (negative) clamp to the jump starter’s negative output, then to a bare metal point at least 12 inches from the battery. Start the car, then remove the clamps in exactly the reverse order. Getting this order right is what keeps a routine jump start from turning into a spark near a battery that’s venting flammable gas.
- The standard order is red-to-battery, red-to-starter, black-to-starter, black-to-ground — and disconnecting reverses it exactly.
- The fourth connection point matters: grounding on bare metal, not the battery’s negative terminal, keeps any spark away from the battery itself.
- A charging or cranking lead-acid battery vents hydrogen gas, which is flammable across a wide concentration range in air.
- A tiny spark exactly when the last clamp lands is ordinary circuit closure. Sparking earlier in the sequence, or anything bigger than a brief flicker, means stop and recheck.
- A printable checklist and links to fix the most common problems — before, during, and after a jump — are below.
What You Need Before You Start
You need the jump starter itself (charged), its clamps and cable, and access to the dead battery’s terminals. Most portable jump starters are designed to be used with the vehicle’s engine off and the key out of the ignition until you’re ready to crank it, which also keeps you from accidentally triggering anything electrical while you’re still connecting clamps. Check that the clamps’ teeth are clean — corrosion or grease on either the clamp or the terminal weakens the connection and can cause exactly the kind of poor contact that leads to a failed start.
How Do You Connect a Jump Starter Step by Step?
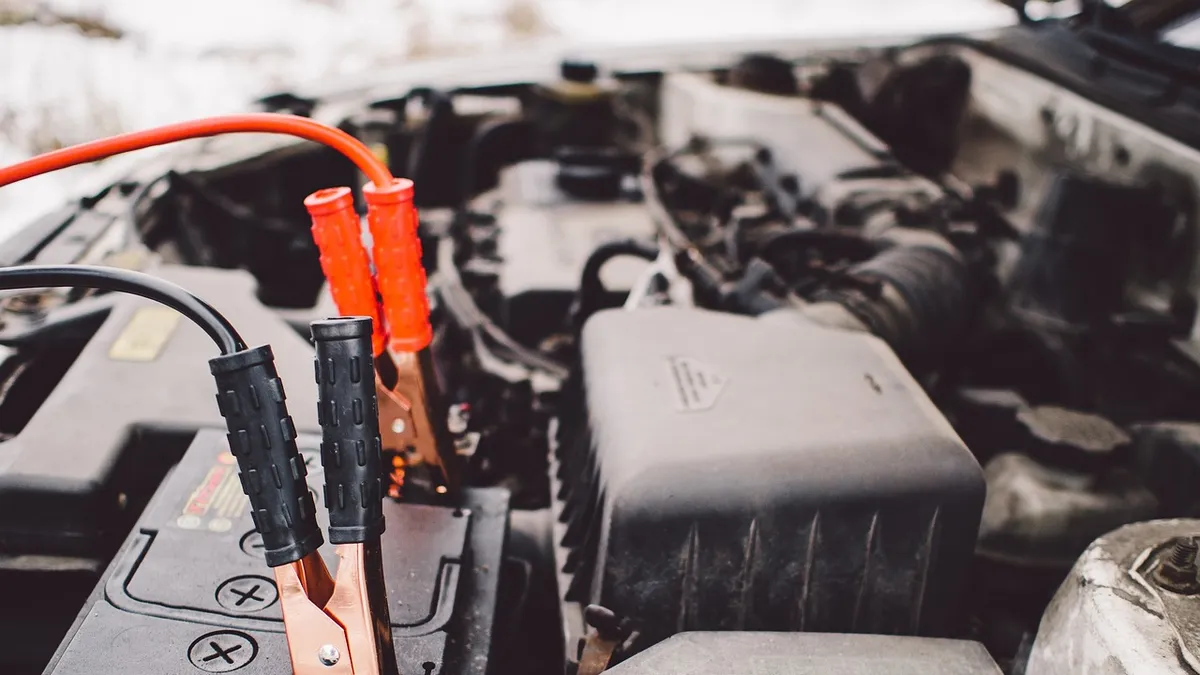
Follow this order every time, regardless of which brand of jump starter you own:
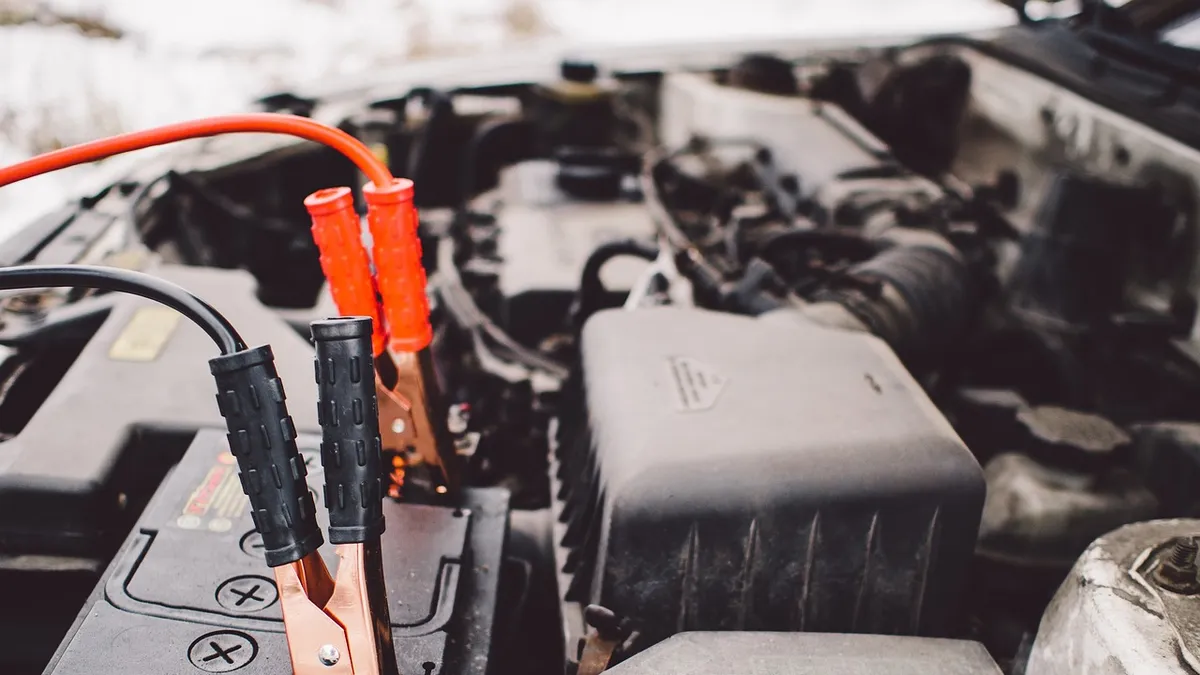
- Red (positive) clamp to the dead battery’s positive terminal. It’s usually marked with a plus sign and often has a red or unmarked terminal cover.
- Red (positive) clamp to the jump starter’s positive output. If your jump starter has a separate clamp cable, connect it to the unit’s positive port now.
- Black (negative) clamp to the jump starter’s negative output. Make sure it’s seated firmly before moving to the last connection.
- Black (negative) clamp to a bare, unpainted metal point on the engine or frame, at least 12 inches (30 cm) away from the battery. Don’t clip it to the battery’s own negative terminal. This distance is a real safety measure, not an arbitrary habit — more on why below.
Once all four connections are secure, turn on the jump starter if it has a separate power switch, and give it a moment to power on and detect the battery before you try to crank the engine. Then start the car as you normally would. If it doesn’t start on the first try, most portable units can handle a few attempts before they need a short rest — see the troubleshooting links near the end of this guide if several attempts don’t work.
Why Does the Ground Connection Matter So Much?
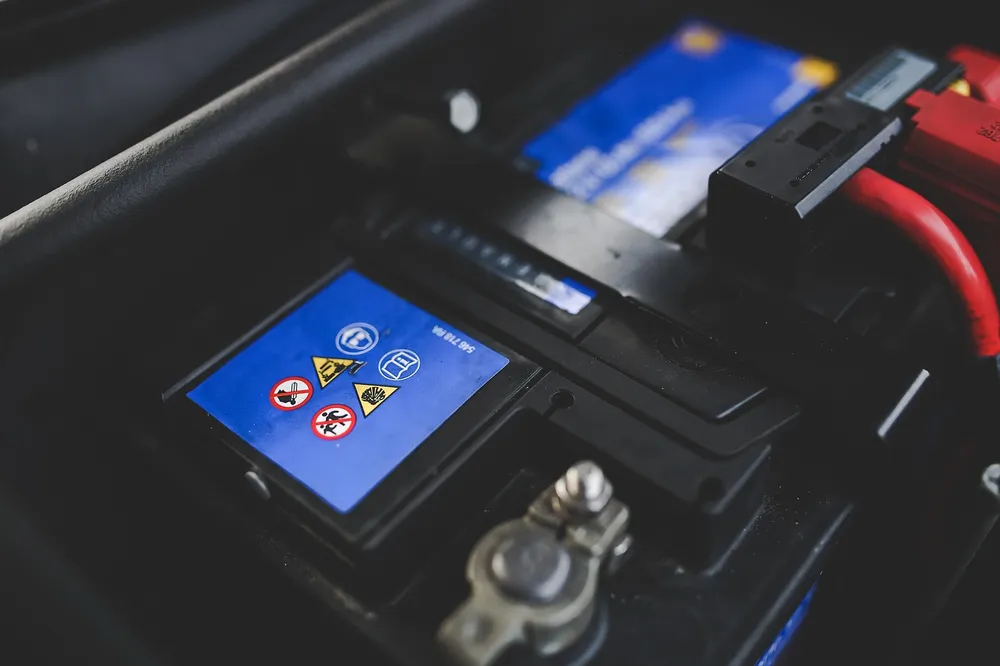
A lead-acid battery that’s being charged or worked hard — including during a jump start — produces hydrogen gas as a normal byproduct. According to the Canadian Centre for Occupational Health and Safety (CCOHS), hydrogen is flammable across a wide range of concentrations in air, roughly 4.1% to 72%, which is an unusually broad explosive range compared to most common gases. A spark right at the battery, where any vented hydrogen is most concentrated, is the ignition source you’re trying to avoid.
That’s the entire reason for step 4’s bare-metal ground point. CCOHS specifically recommends making the final connection at least 30 cm (about 12 inches) away from the battery itself, on a solid metal part of the engine or frame rather than the negative terminal. Any spark from that last connection happens away from the battery, not right next to it.
Safety Warning: What’s Normal and What Means Stop
A very brief, tiny spark exactly at the moment the fourth clamp completes the circuit is ordinary electrical behavior — closing a circuit between two different electrical potentials can produce a quick flicker, and that alone isn’t a sign of a mistake. What is not normal: sparking at steps 1 through 3 (before the circuit should be live at all), a sustained arc, visible smoke, an unusual smell, or any spark large enough to startle you. Any of those mean stop immediately, disconnect in the correct order, and recheck your clamp placement before trying again. Never let the red and black clamps touch each other directly — NOCO’s own equipment manual warns that touching the clamps together creates a short circuit and sparks, which is a wiring mistake, not routine use. For a full breakdown of normal-versus-not-normal sparking, see our guide to jump starter clamp sparking.
How Do You Disconnect a Jump Starter Step by Step?
Reverse the exact order you used to connect:
- Black (negative) clamp off the bare metal ground point — remove this one first, since it was connected last.
- Black (negative) clamp off the jump starter’s negative output.
- Red (positive) clamp off the jump starter’s positive output.
- Red (positive) clamp off the battery’s positive terminal — this is the last connection to come off.
Doing it in this order keeps the ground connection, the one specifically placed away from the battery, as both your first connection to break and your last connection to make. That’s not a coincidence; it’s the same hydrogen-gas safety logic in reverse.
What If the Car Still Won’t Start?
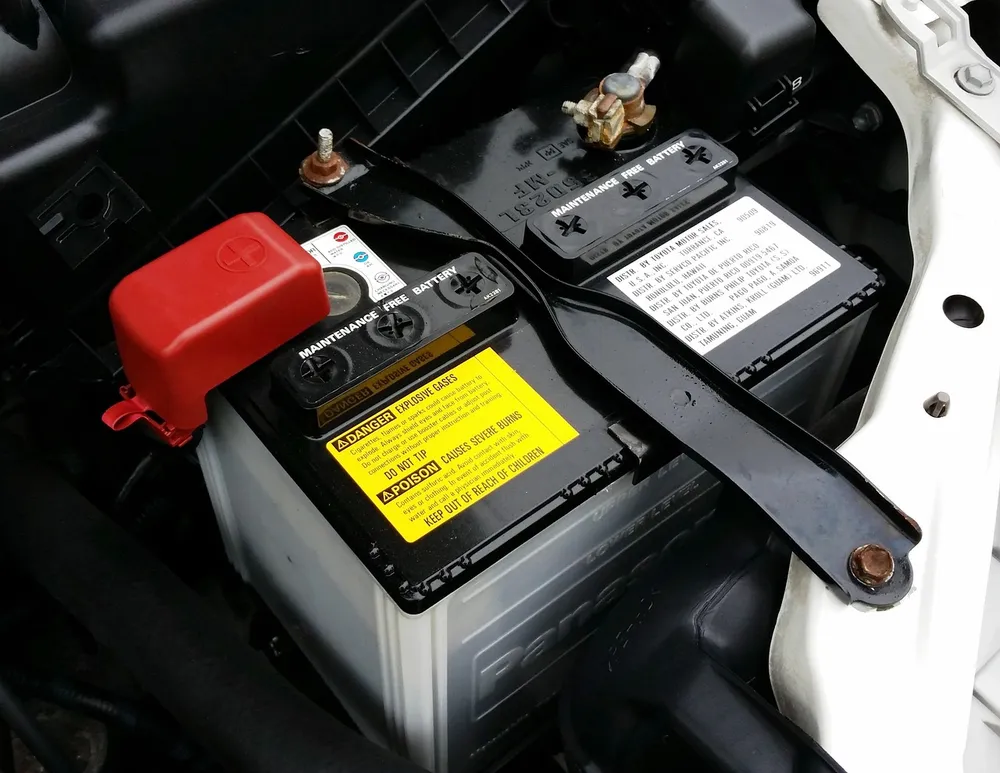
If you’ve followed every step above and the engine still won’t turn over, the cause is usually either the jump starter itself (low charge, a safety lockout, or clamps that aren’t making solid contact) or something on the vehicle side (corroded terminals, a sulfated or internally failed battery, or a failed starter motor). Our guide to a jump starter that won’t start the car walks through how to tell which side the problem is on. If the battery reads at or near 0 volts, a different and more specific problem may be at play — see our article on jump-starting a completely dead, 0-volt battery.
Keeping Your Jump Starter Ready for Next Time
Using the jump starter correctly is only half the job — it also needs to actually work the next time you reach for it. A few related problems come up often enough to deserve their own guides:
- If the unit beeps or flashes a light you don’t recognize, see what jump starter beeps and error lights mean.
- If it won’t charge at all when you plug it in, see step-by-step fixes for a jump starter that’s not charging.
- If it charges but seems to drain fast or die early in storage, see why a jump starter won’t hold a charge.
- Brand new unit? Check how long to charge a new jump starter before first use before you rely on it.
- Not sure how many jumps you’ll get before it needs a recharge? See how many jump starts you can get on one charge.
- Storing it in a hot trunk or a freezing garage? See how to store a jump starter in extreme heat or cold.
Frequently Asked Questions
Do I need to turn the car off before connecting a jump starter?
Yes. Make all four clamp connections with the engine off and the key out of the ignition, then start the car only after every clamp is securely in place. This avoids any chance of an electrical surprise while you’re still handling the clamps.
Which terminal do I connect first, positive or negative?
Positive (red) first, to the dead battery’s positive terminal. The negative (black) clamp always goes on last, and its final landing point should be bare metal away from the battery, not the battery’s own negative terminal.
Is it safe to connect the black clamp directly to the battery’s negative terminal?
Standard safety guidance recommends grounding on bare metal at least 12 inches from the battery instead, specifically so any spark at that last connection point happens away from the battery, where vented hydrogen gas is most concentrated.
How long should I wait after connecting before starting the car?
Give the jump starter a moment to power on and detect the battery before cranking the engine. There’s no universally specified wait time across brands, so follow your own unit’s indicator light or ready signal if it has one.
What should I do if the clamps spark when I connect them?
A tiny spark only at the fourth and final connection is normal. Sparking earlier in the sequence, or any sustained arc, smoke, or smell, means stop immediately and recheck your connections — see our dedicated guide on clamp sparking and what’s normal for the full breakdown.
Sources
- NOCO, GB40 Boost Plus User Guide and Warranty (manufacturer manual) — clamp connect/disconnect order and the warning against letting the positive and negative clamps touch each other.
- Canadian Centre for Occupational Health and Safety (CCOHS), “Garages – Lead-Acid Batteries” — jumper-cable connection order and the 30 cm (12 in.) ground-point distance recommendation.
- CCOHS, “Battery Charging – Industrial Lead-Acid Batteries” — hydrogen gas explosive limits of 4.1% to 72% in air.
By jumpstarterguides.com Editorial Team. Last updated: November 13, 2026.

2 thoughts on “How to Use a Jump Starter the Right Way (Step by Step)”